Brewing coffee at home: how could something so seemingly simple take up so much internet space? It may seem like all there is to it is throwing a few spoonfuls of coffee into a filter, hitting the “start” button on your coffee maker, and letting the magic happen.
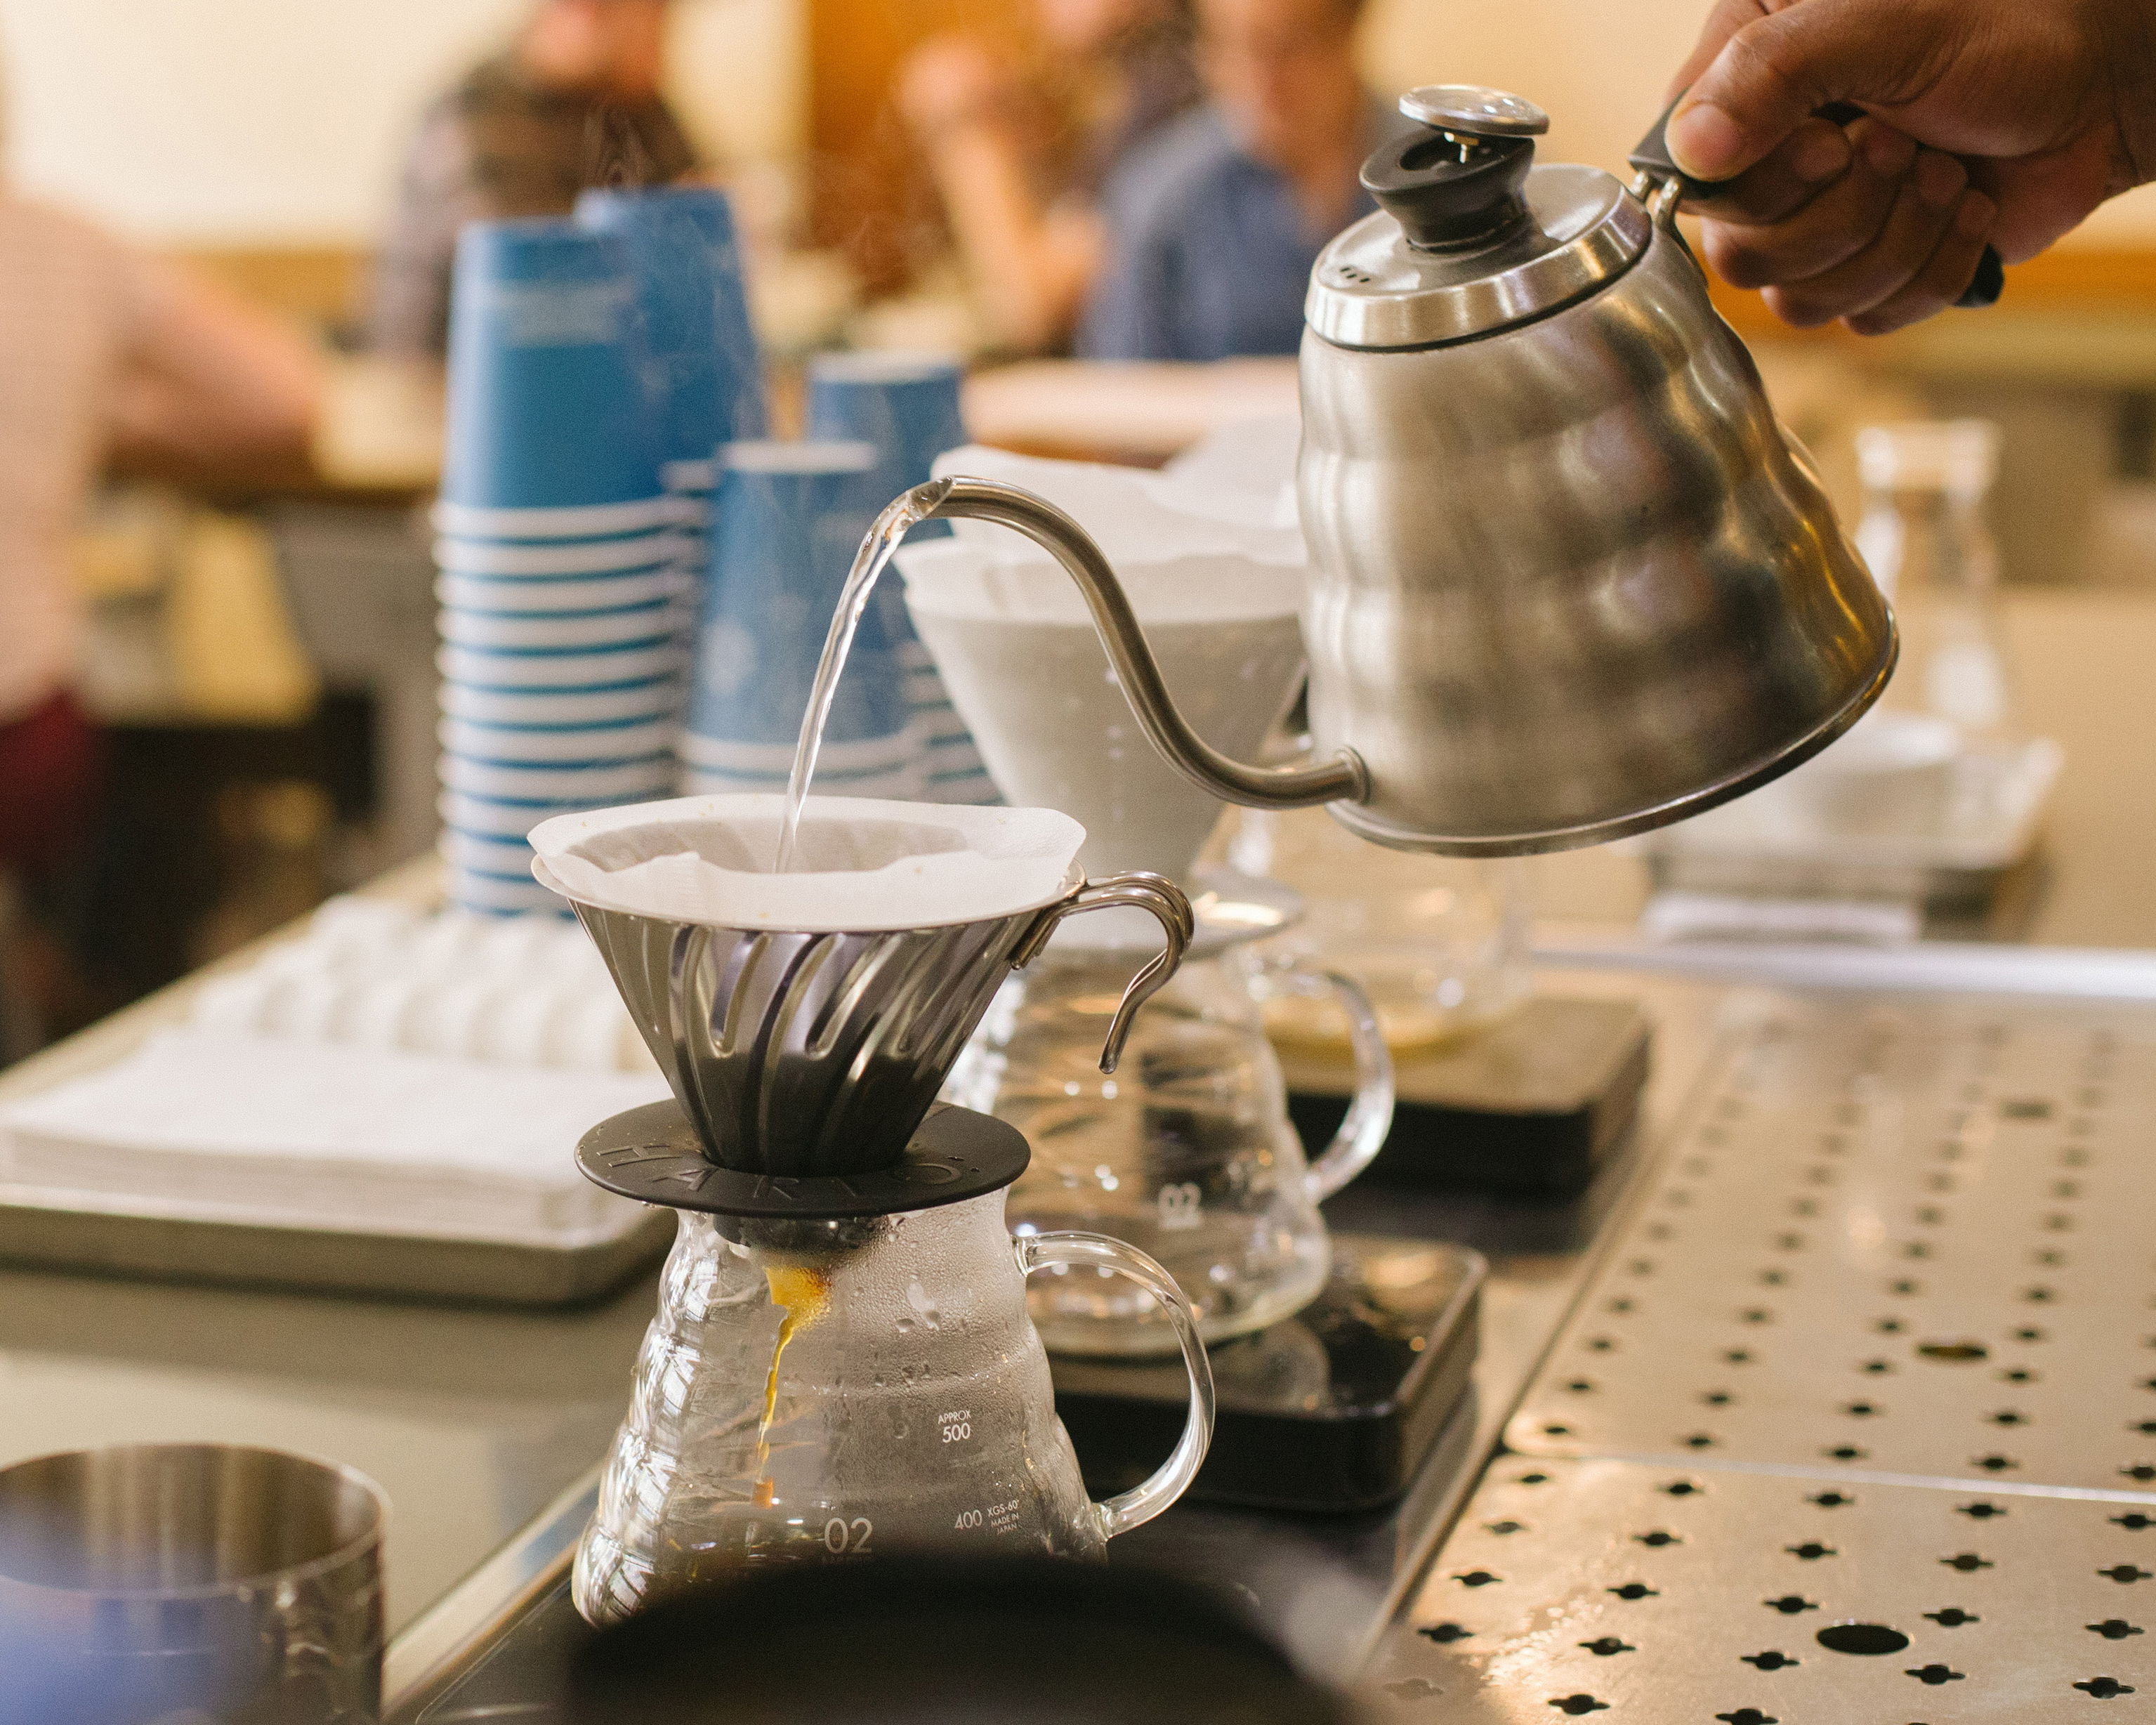
But perhaps you’ve started to notice that your coffee tastes a bit different every time you brew it, and you can’t figure out why. Sometimes it’s nice and full bodied, and other times it’s too light, tea-like, or even drying. Maybe you’ve ventured into the world of pour-overs, and you can’t figure out why your V60 brew drips so much longer than it should. Maybe your coffee at home just never tastes like the cup you get at your favorite coffee shop. And here you are now — surfing the internet to find a solution to your coffee problems.
Glad to see you’ve landed here!
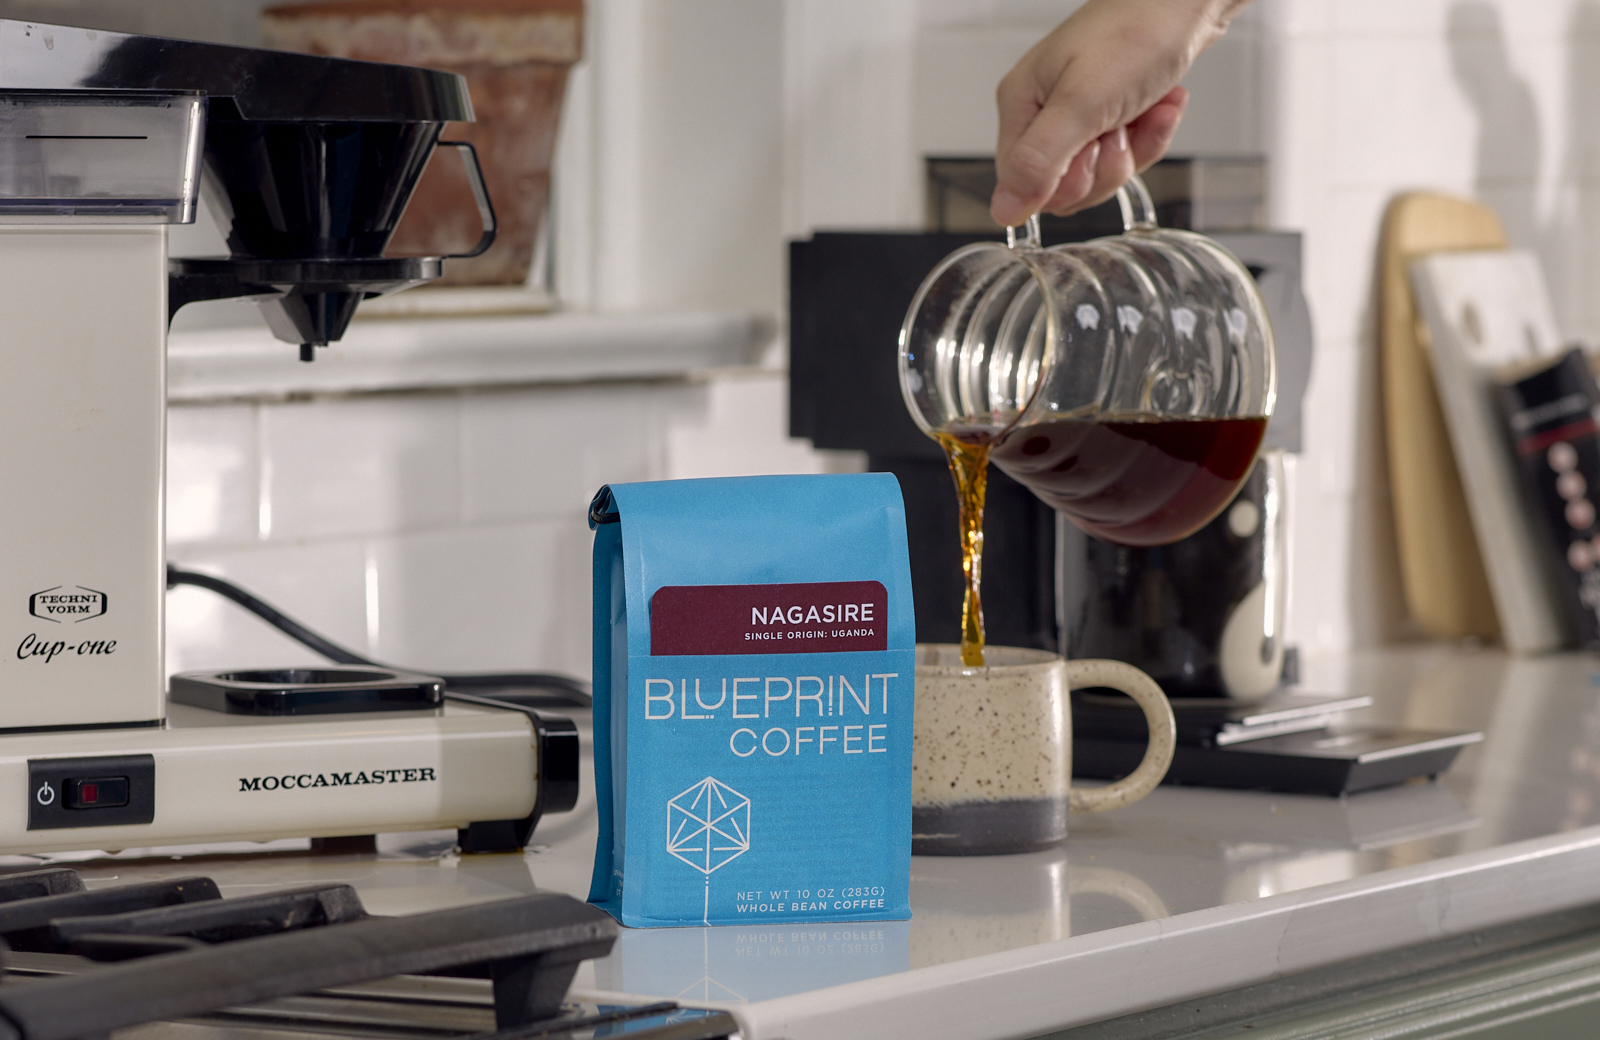
My name is Valerie, and I’m a barista and class instructor at Blueprint Coffee. In our coffee classes, I’ve taught hundreds of students how to understand extraction and brew better coffee — more consistently — at home or behind a coffee bar. Today, I’m going to teach you how to manipulate extraction (read: flavor) by adjusting the variables that affect our brew.
What is brewing, anyway?
Brewing coffee is any process that introduces coffee grounds to water. More specifically, brewing is extracting the soluble components from the coffee grounds, dissolving them into the water.
Adjusting aspects of our brewing process — such as the amount of coffee or water used — will change the flavors in our final cup, because these adjustments change the way the coffee can be extracted. By understanding these variables and how they affect extraction, we can dial in a delicious brew — and then replicate our results to achieve the same great cup every time.
There are four main variables that we work with on the brew bar: dose, grind size, yield, and time.
Those four components are part of every brew method, from French press to auto-drip to espresso. Together, they make up a brew recipe. Let’s walk through each element together.

Dose
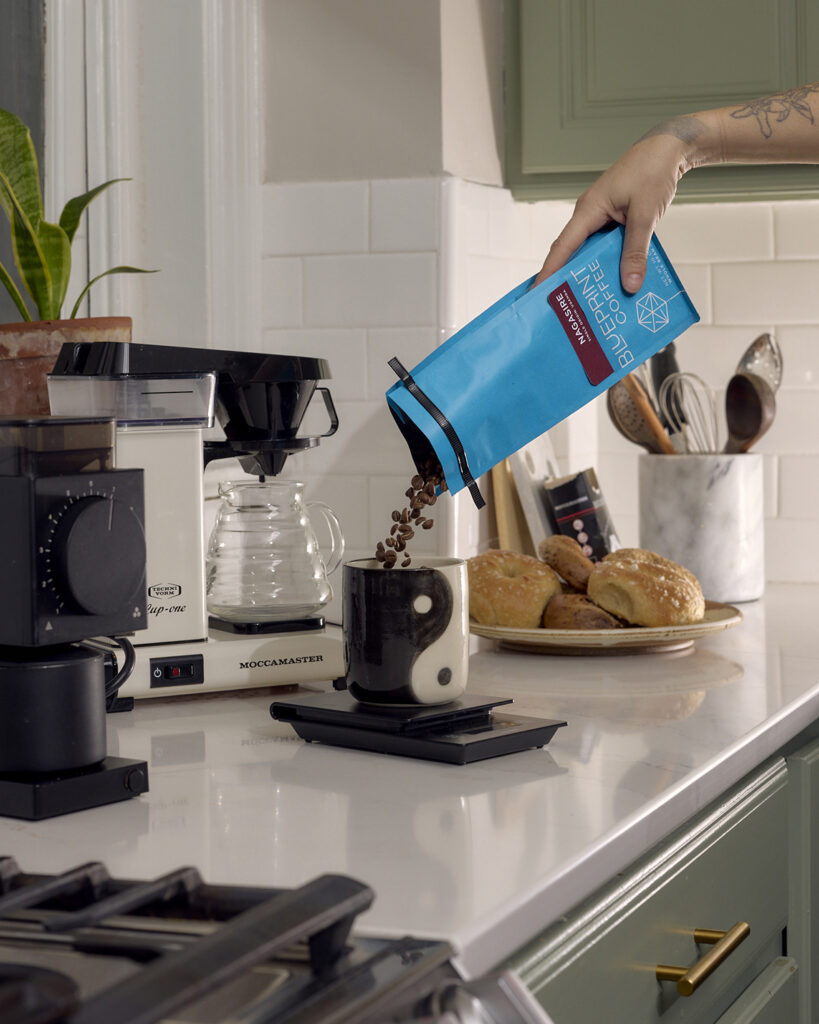
Our dose is the amount of ground coffee we are using in our recipe. Typically this is measured in grams. Measuring by weight is much more precise than measuring by volume (such as tablespoons or scoops), which will only give us a ballpark dose that may change a little every time. That’s why we strongly recommend using a scale.
If you have a grinder at home, you should know that our dose refers to the amount of ground coffee that goes into our brewer — not the beans that go into the grinder. The burrs in your grinder will retain some of the grounds, so it’s a good idea to grind a little more coffee than you need (about a gram extra).
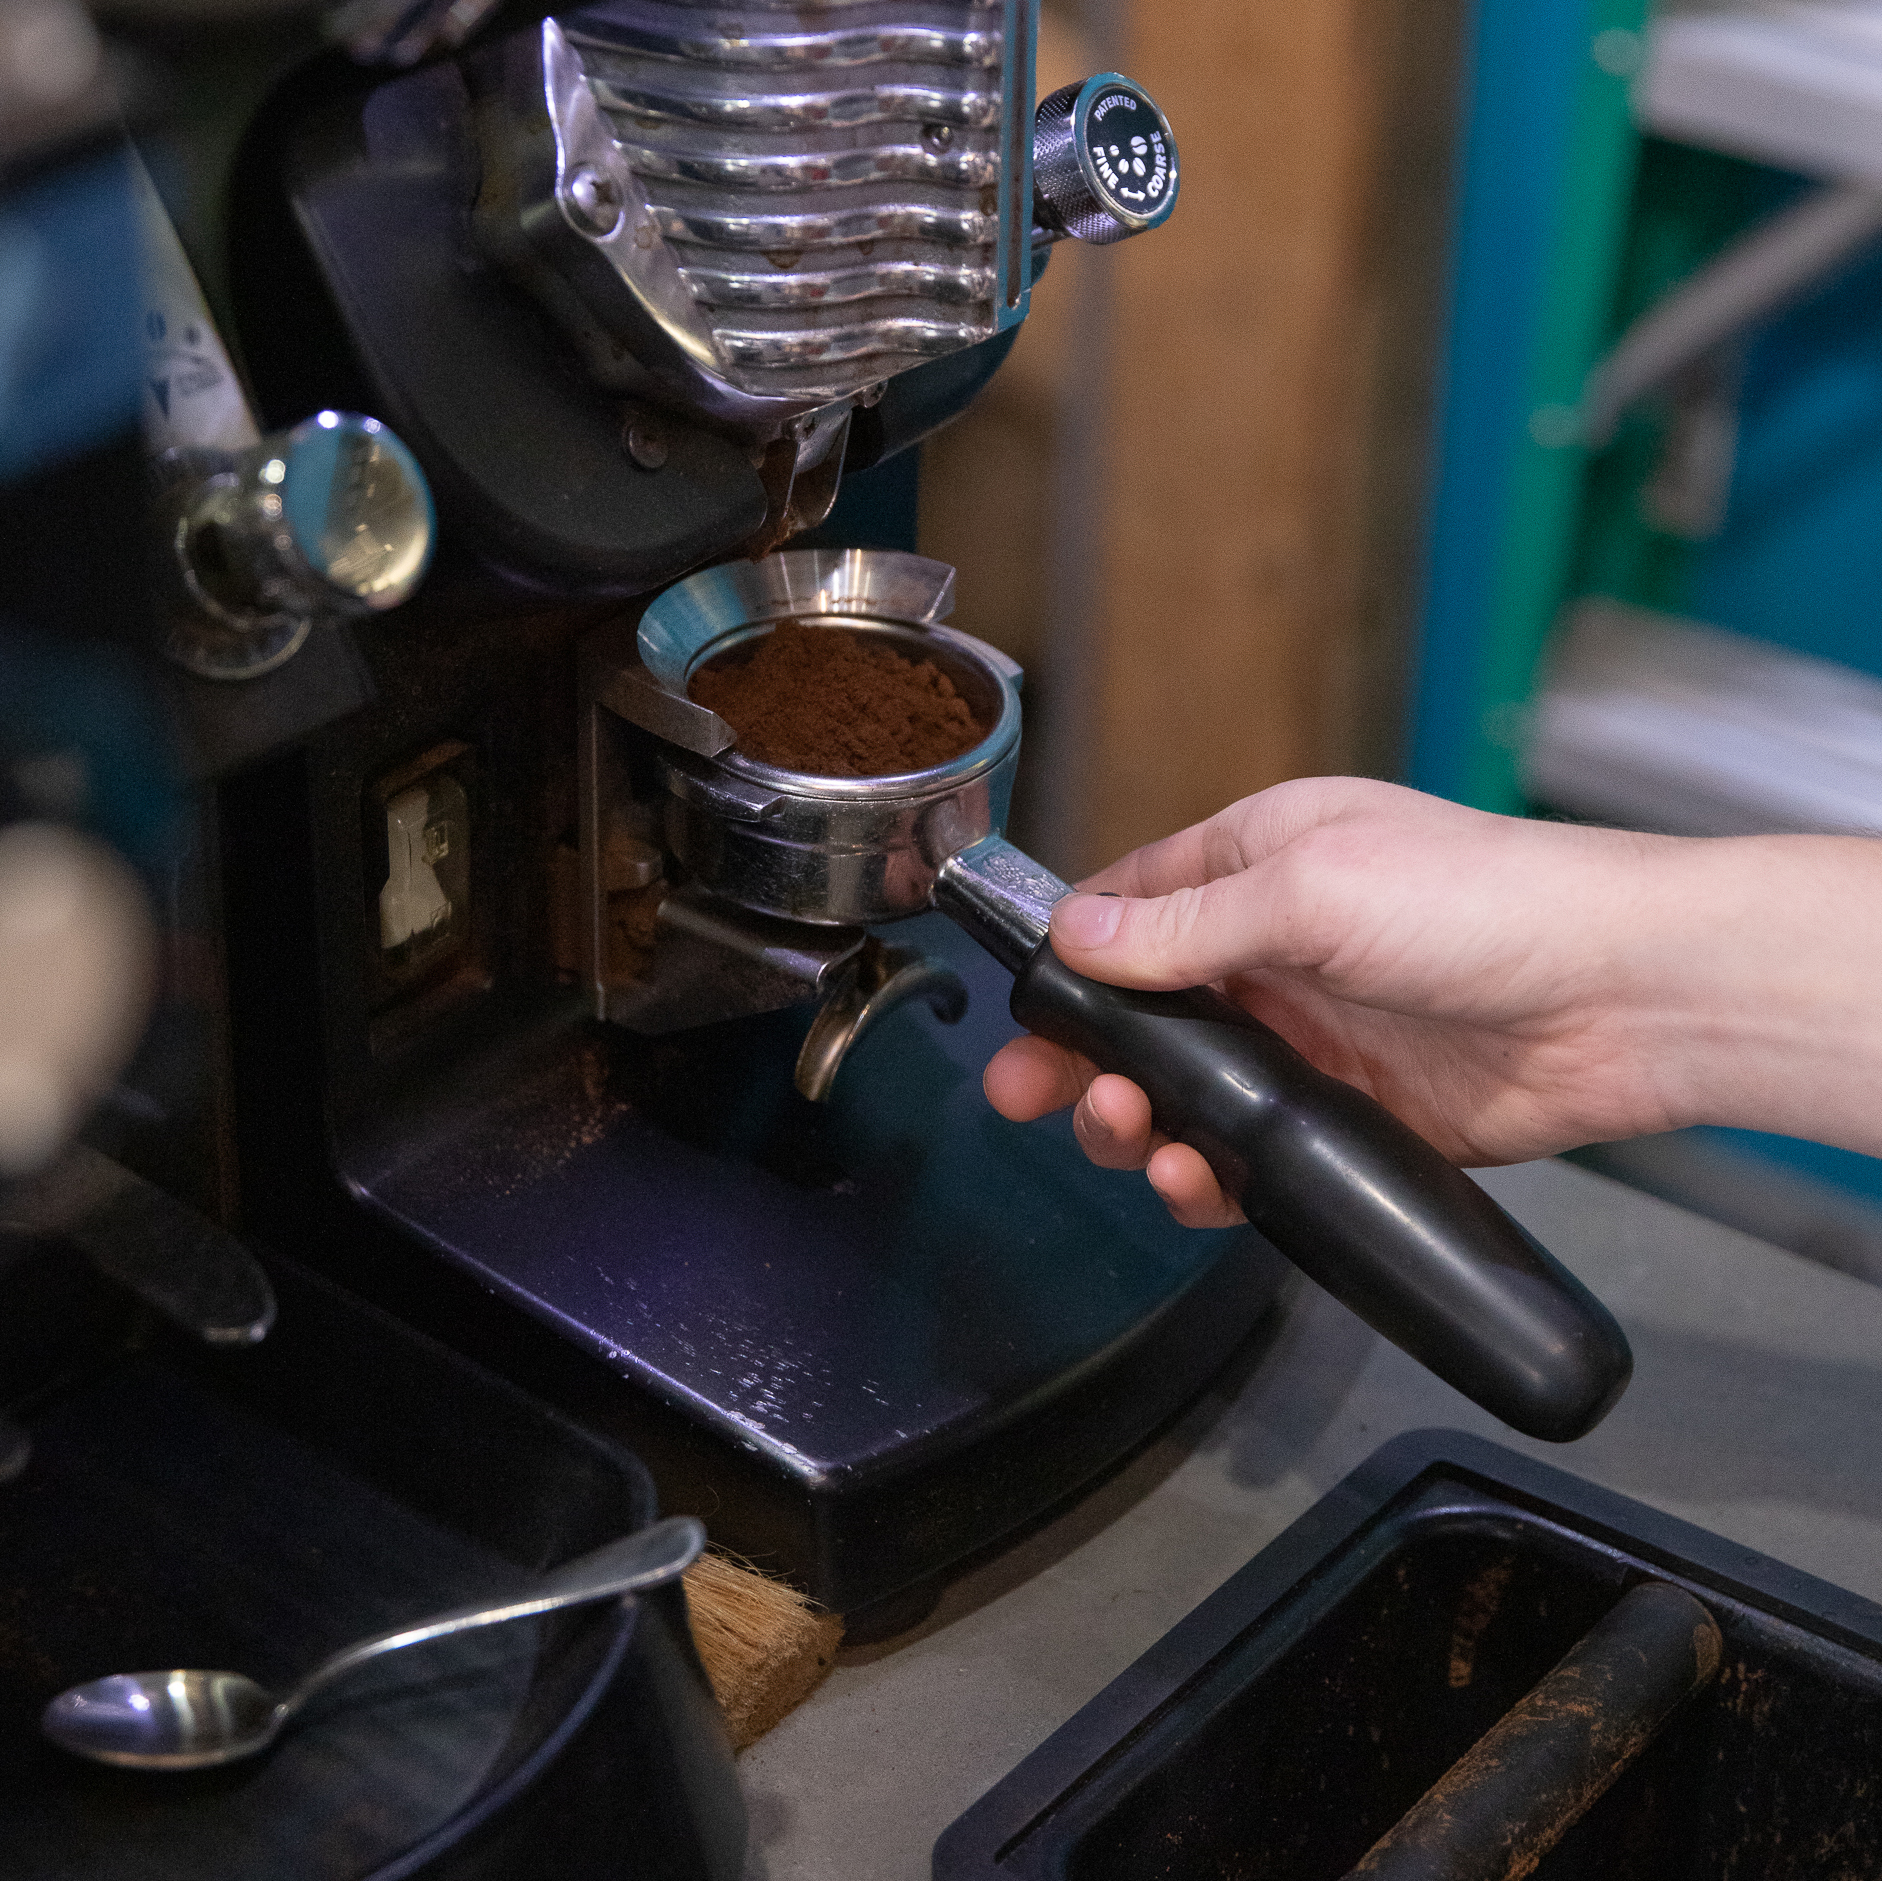
Grind Size
The size of our coffee grounds will change just how much extraction can take place over a specific period of time. And yes, I mean the literal size of each individual ground! Adjusting the grind size tends to have the biggest impact on extraction, and therefore on flavor in our final cup. So it’s important that we know how fine or coarse we should grind our coffee, and that all the grounds are as uniform as possible.
Now, you may be thinking, “But isn’t ground coffee just ground coffee? How can little differences in grind size make such a big impact on our brew?”
To understand this, imagine you’re on the Magic School Bus and you shrink down to the size of a single, itty bitty coffee ground. On this microscopic level, you can see how one single ground might be four times the size of another.
Each coffee ground has molecules of flavor locked inside it, ready to be extracted. Those two coffee grounds — one that is much larger than the other — will have their flavor extracted at different rates, because the particles are two different sizes. That’s why we recommend using a burr grinder — the conical burrs will produce far more consistent grounds than, say, a blade grinder, which is just chopping up your beans.
The finer the grounds, the faster the extraction. Finer particles have more surface area exposed, so water will extract their flavor at a faster rate. Coarser grounds have less surface area exposed, so the water can’t extract nearly as much within the same timeframe.
Your grind size should also match the brewing method you’re using. Coffee for espresso should be ground very fine, like flour. For filter brewing, you want a medium grind, like table salt. In general, the bigger the batch, the coarser you should grind — so if you’re brewing a big pot of auto-drip for the office, you’ll grind a little coarser than if you were making a single cup pour-over. For cold brew, use a very coarse grind, like Kosher salt.
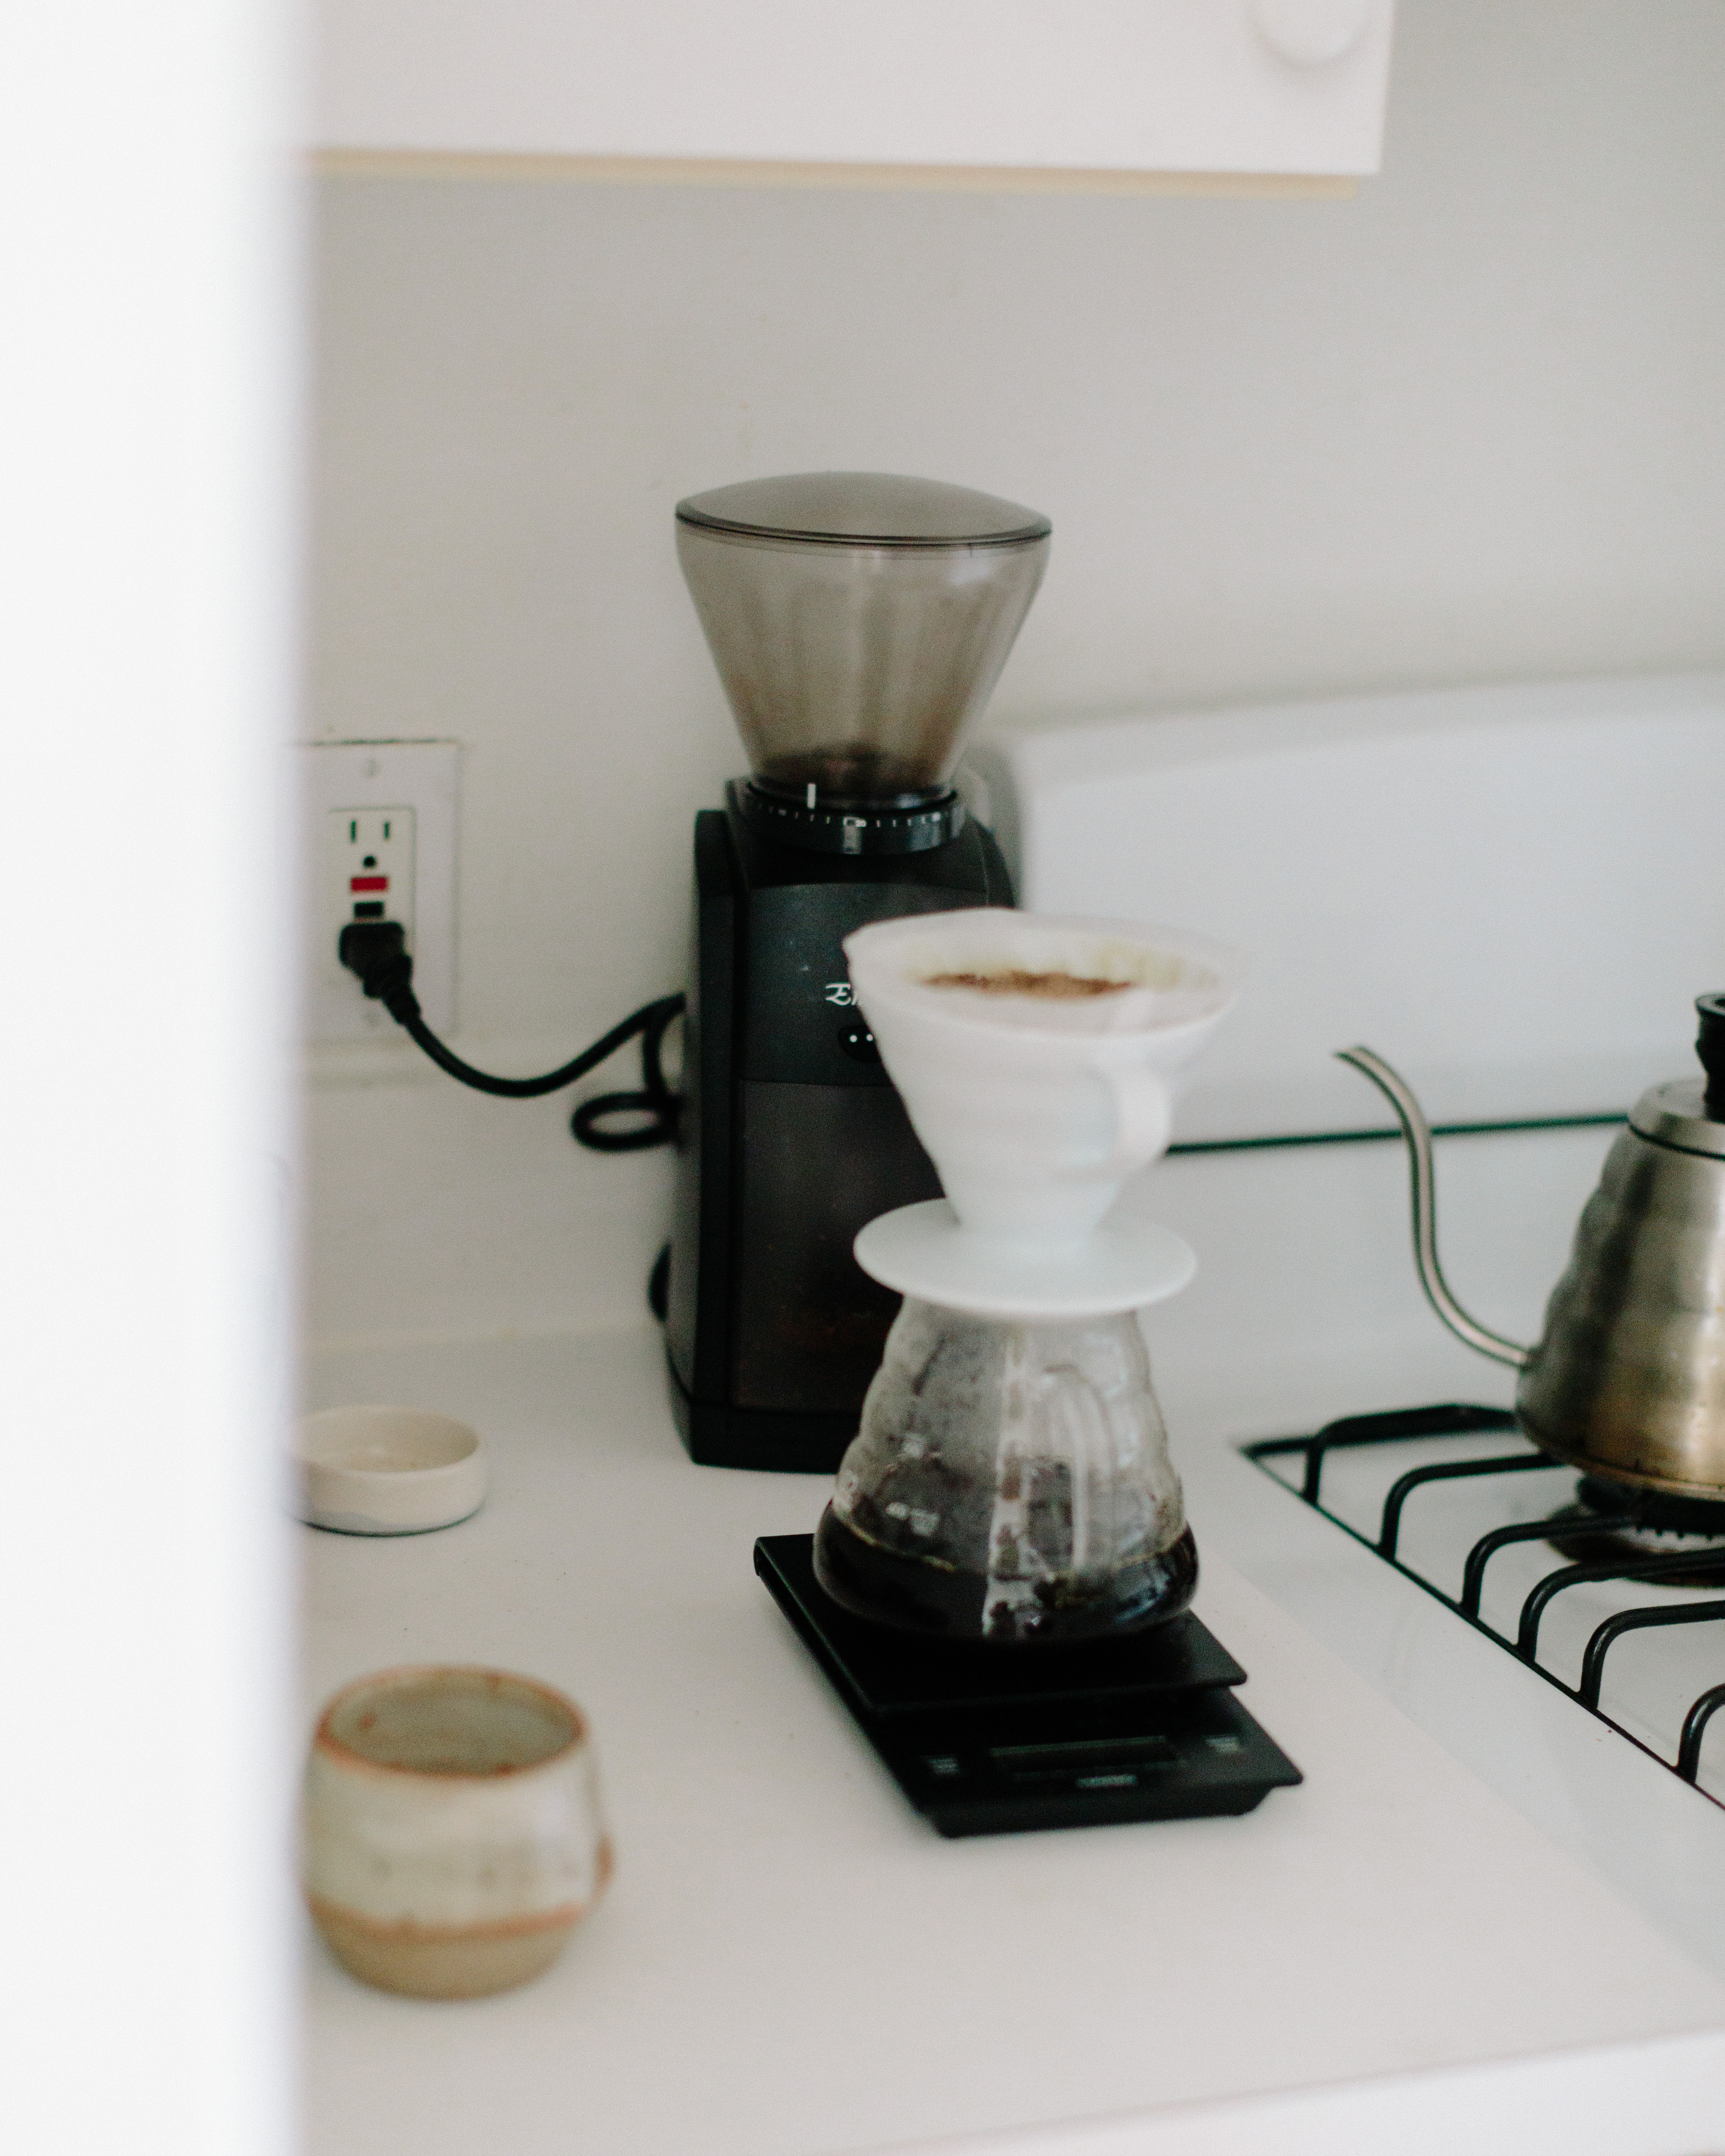
Yield & Brew Water Weight
About 98% of what’s in our cup of coffee is water. So it’s important to know how to properly use that water in our brewing process.
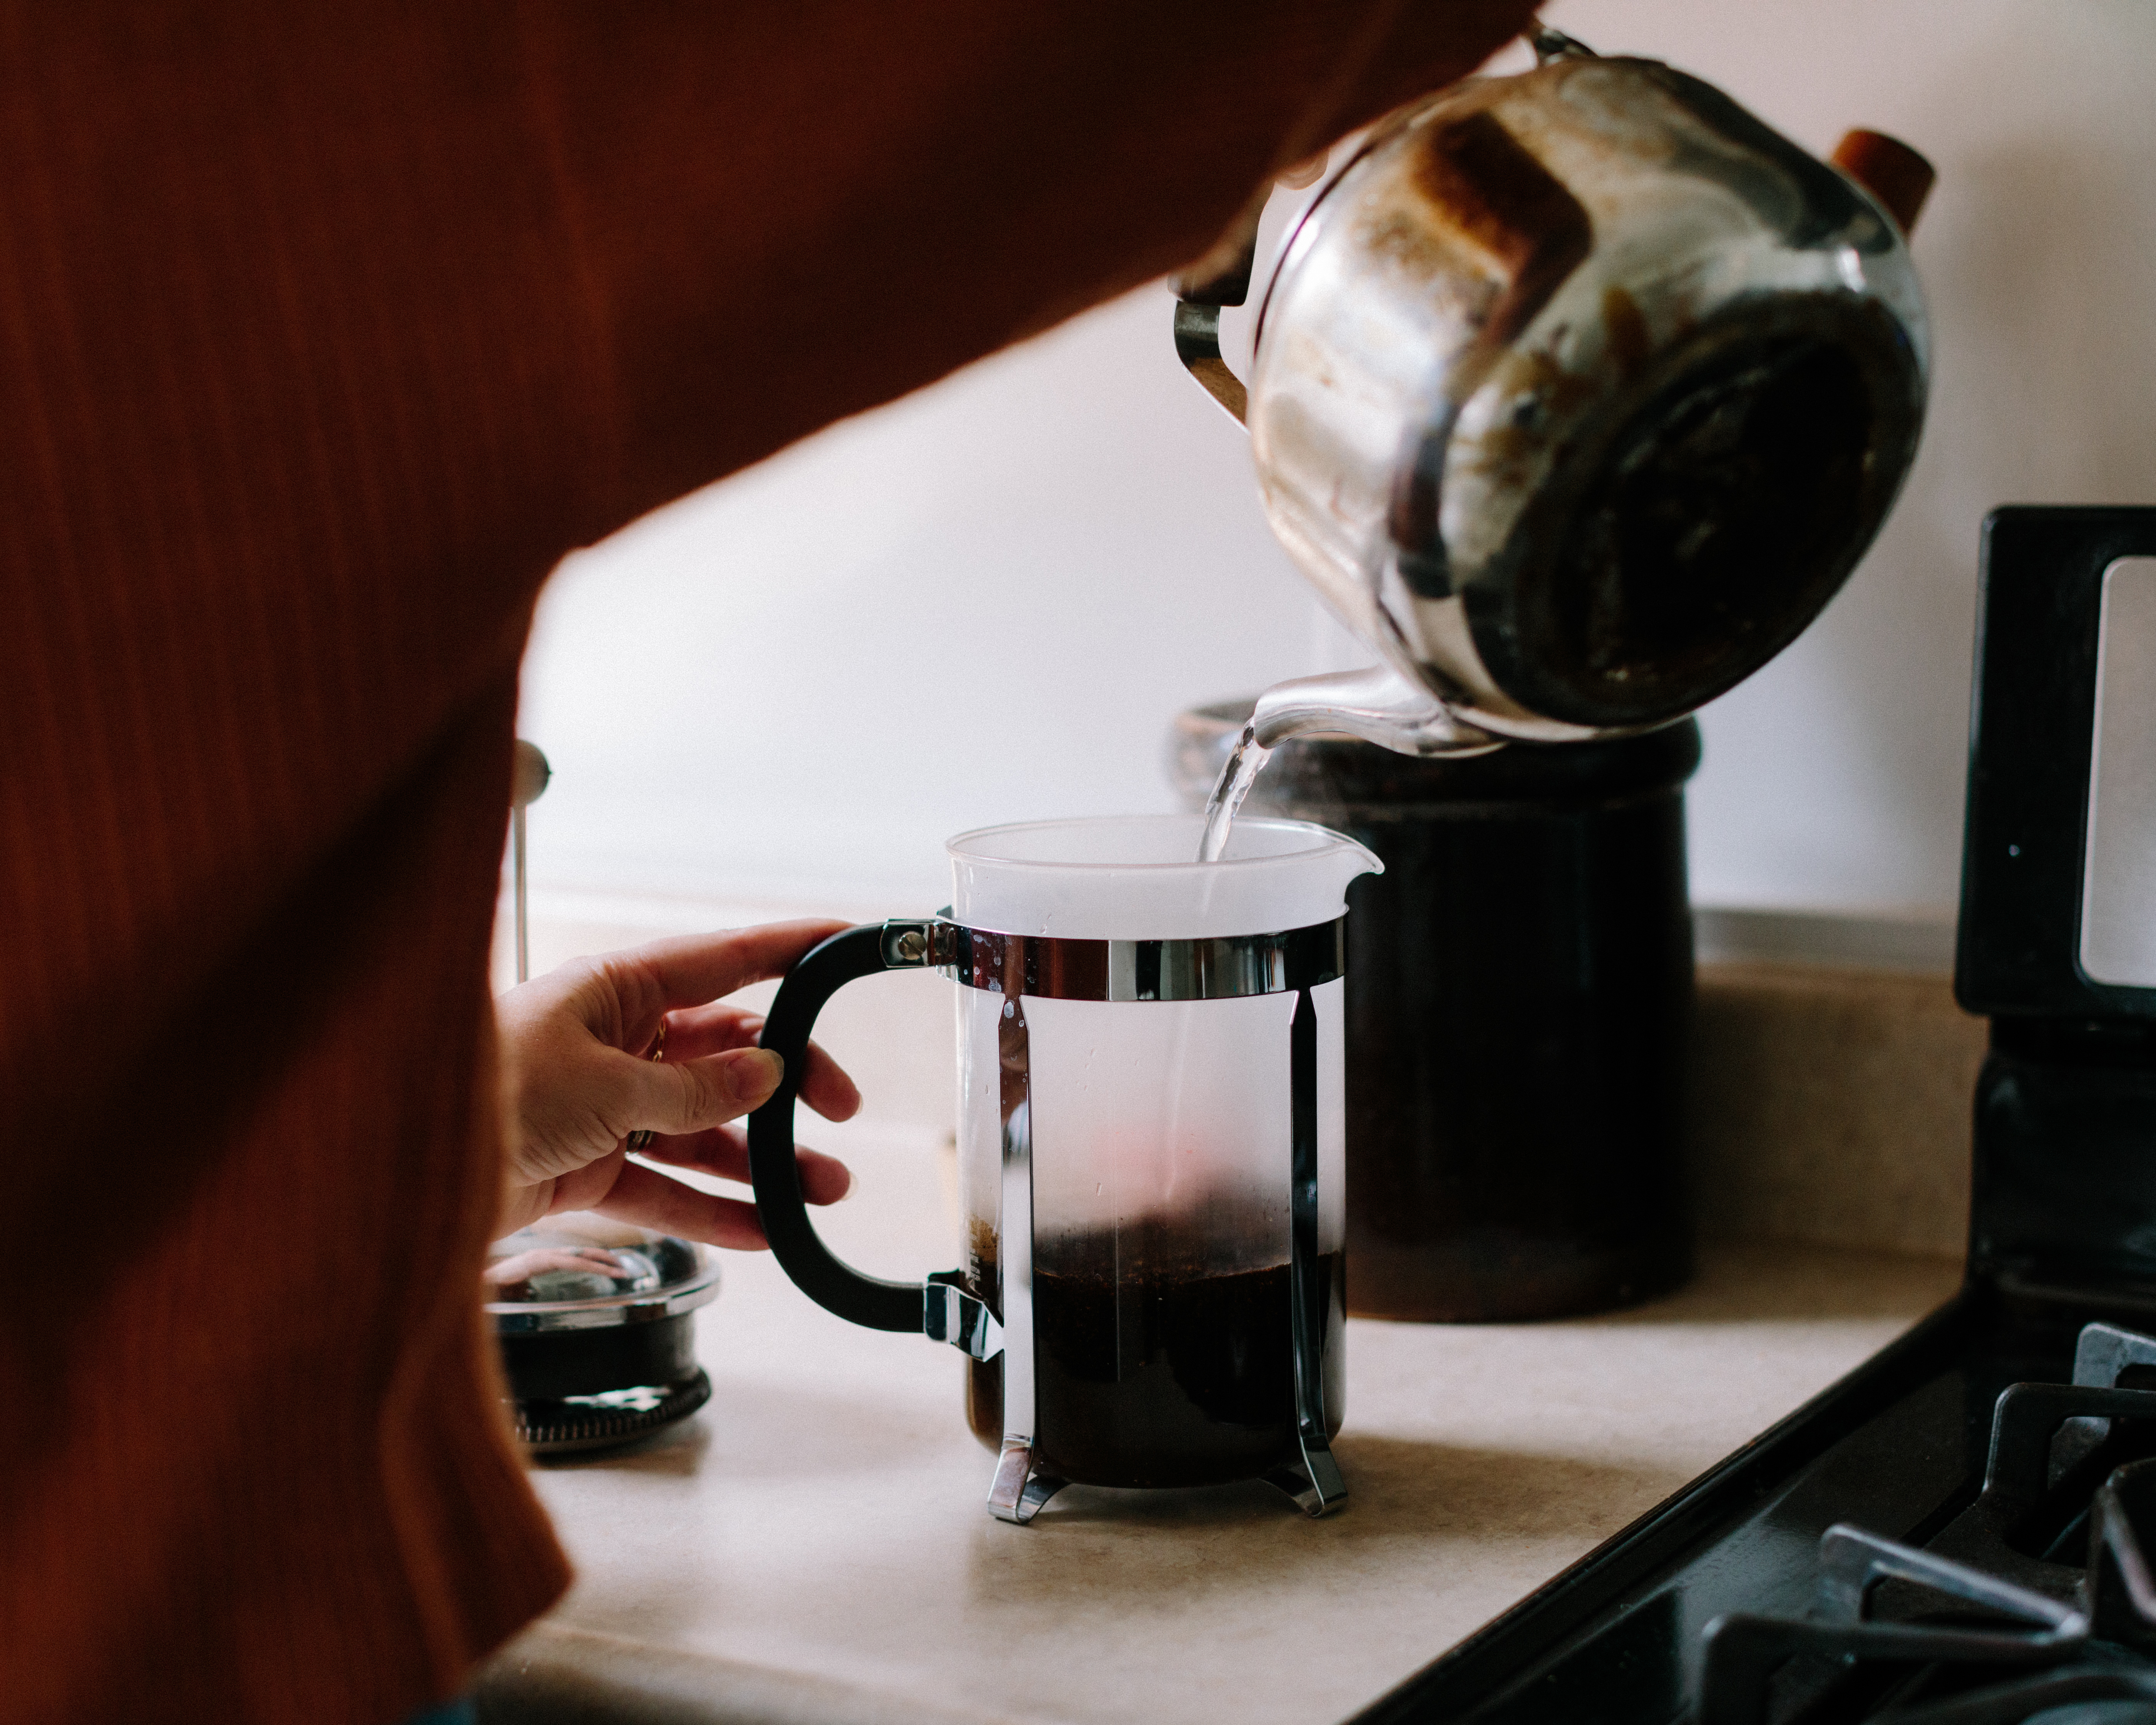
Brew water weight is the water that goes into our brew. Yield is the outcome: the weight of our final brew. Since the bed of coffee grounds absorbs and retains some of the water, the yield will always be a bit less than the brew water weight. You’ll only work with one of these measurements as part of the brewing process, depending on the brew method. With filter brewing or French press, you’ll be measuring the brew water weight (the water that goes in). If you’re making espresso, you’ll be working with yield (what comes out).
Whether you’re measuring water on the way in or out, what you’re really getting at is the ratio of water to coffee. The less water we add compared to the amount of coffee grounds (dose), the more concentrated our brew becomes. The more water we add, the more diluted our brew will be. In the final cup, we might call this body — how the coffee feels in our mouth, from thin to full to balanced.
Imagine making a pitcher of Kool-Aid: if you fill the pitcher halfway with water, your Kool-Aid will be thick and syrupy. Use too much water and it’ll be too weak. But mix the packet into the recommended liter of water and you’ll have a balanced, refreshing beverage.
The amount of water we use also affects extraction. Remember: brewing is always happening if water is in contact with coffee. If we use too little water, we may not extract enough during the brew process (even if we adjust the grind size). If we use too much water, we may over-extract our coffee by extracting it for too long. Both ends of this spectrum can result in unpleasant flavors.
So, tracking how much water we use allows us to find the proper extraction and ideal concentration in our brew.
For filter brewing, in general, we recommend a ratio of about 1:16 (meaning, 16 parts of water for every one part of coffee). Brewing with 25 grams of coffee and 400 grams of water will yield about a 12 oz cup of coffee.
For espresso, we recommend starting with about a 1:2 ratio — that means the yield (output of espresso in the cup) is twice the weight of the dose (coffee grounds in the portafilter). From there, you can increase your yield if you’re looking for a lighter body or more extraction, or decrease the yield if you need less extraction or a heavier body. The dose will depend on the size of your portafilter’s basket. In our cafes, we use a 20g portafilter basket, but yours might be a little smaller or larger — go with the manufacturer’s recommended dose.
Time
In a brew recipe, time expresses how long our coffee is in contact with water. Tracking the time of our brew allows for two things:
- When crafting a brew recipe, we need to know the proper duration of our extraction time. If we brew without tracking the time, then it will be difficult to replicate our results on the next brew, since we won’t know what time we’re aiming for.
- Having a target time as part of our brew recipe can indicate to us if your coffee is properly extracting, or if something is off and needs to be adjusted. If our brew is taking much too long, or if it brews too quickly, it’s a sign our coffee isn’t hitting that proper extraction point, so a variable needs to be changed.
Other things to consider
Water quality
A cup of coffee is about 98% water. So the quality of the water we use to brew matters a great deal to the final outcome. Water that’s too hard or too soft can prevent good extraction from taking place. At the same time, you need some minerals in your water — avoid using distilled water to brew coffee. The gold standard is reverse osmosis filtration (RO) — it’s what most coffee bars, including our cafes, use for all brewing. For brewing at home, a simple water filter (like Brita or Pur) will work just fine. (If you want to dive deeper into the world of water for coffee, there are a number of mineral additive products on the market specifically formulated for coffee brewing. We haven’t tried any of them ourselves, so we can’t recommend any from experience, but feel free to give them a try!)
Water temperature
Temperature determines what materials are extracted from your coffee grounds, and the rate at which that extraction happens.
Coffee has multiple components, like acids and carbohydrates, which extract during the brewing process and which together make up the flavors in your cup. Some of these components extract best at high temperatures. This is why coffee is brewed so hot.
Brewing temperature should be 185–205°F. This is just below the boiling point — so we recommend bringing fresh, cold water to a boil and then waiting a few minutes before brewing. Brewing with water that’s too hot can overextract your coffee, resulting in a bitter cup.
“But Valerie, what about cold brew?!” Great question! A cold brew process still extracts lots of flavor even with water at room temperature. But because that water temperature is so low, it requires nearly 24 hours of brewing. And that low temperature won’t extract all of the carbohydrates from the coffee. That’s why cold brew has such a unique taste that tends to be a bit more acidic, but still very smooth.
Turbulence/agitation
Picture a layer of sand and dirt at the bottom of a pond. All of those settled particles usually lay still, but a kid with a stick can stir it up and release a swirl of mud up into the water. Our bed of coffee grounds is very similar. If we swirl it around and mix it up — we call this agitation, or turbulence — more of the coffee grounds will be exposed to water, and the rate of extraction will increase.
Putting it all together
You’ve probably noticed that each variable has its own way of adjusting extraction. In turn, a change to any one variable will affect all the rest. It’s like a set of balancing scales: add or take away from one scale, and the rest will move.
So, how do we know what to adjust and how it will change our brew?
One of my favorite analogies — a classic in the coffee world — is the Buckets of Rocks and Sand.
Picture two buckets with holes in the bottom. One bucket is full of big, chunky rocks, and the other is filled with sand. If we poured a gallon of water into each bucket, which one would drain out faster?
You (probably) guessed it: the bucket of rocks would drain much faster than the sand. The small particles of the sand will slow down the water’s path to the bottom, so the water will be in contact with the sand much longer.
This is a pretty good comparison to how water behaves in our brewers filled with coffee grounds — the coarser the grind, the faster the water will flow through. Therefore, grind size is what plays the biggest part in determining brew time (and, therefore, extraction). If you want to slow down your brew, grind your coffee finer. If you need to speed it up, grind coarser.
“Okay Val, now I know what to do. But how do I know when to do it? How can I tell if my coffee is under- or overextracted?”
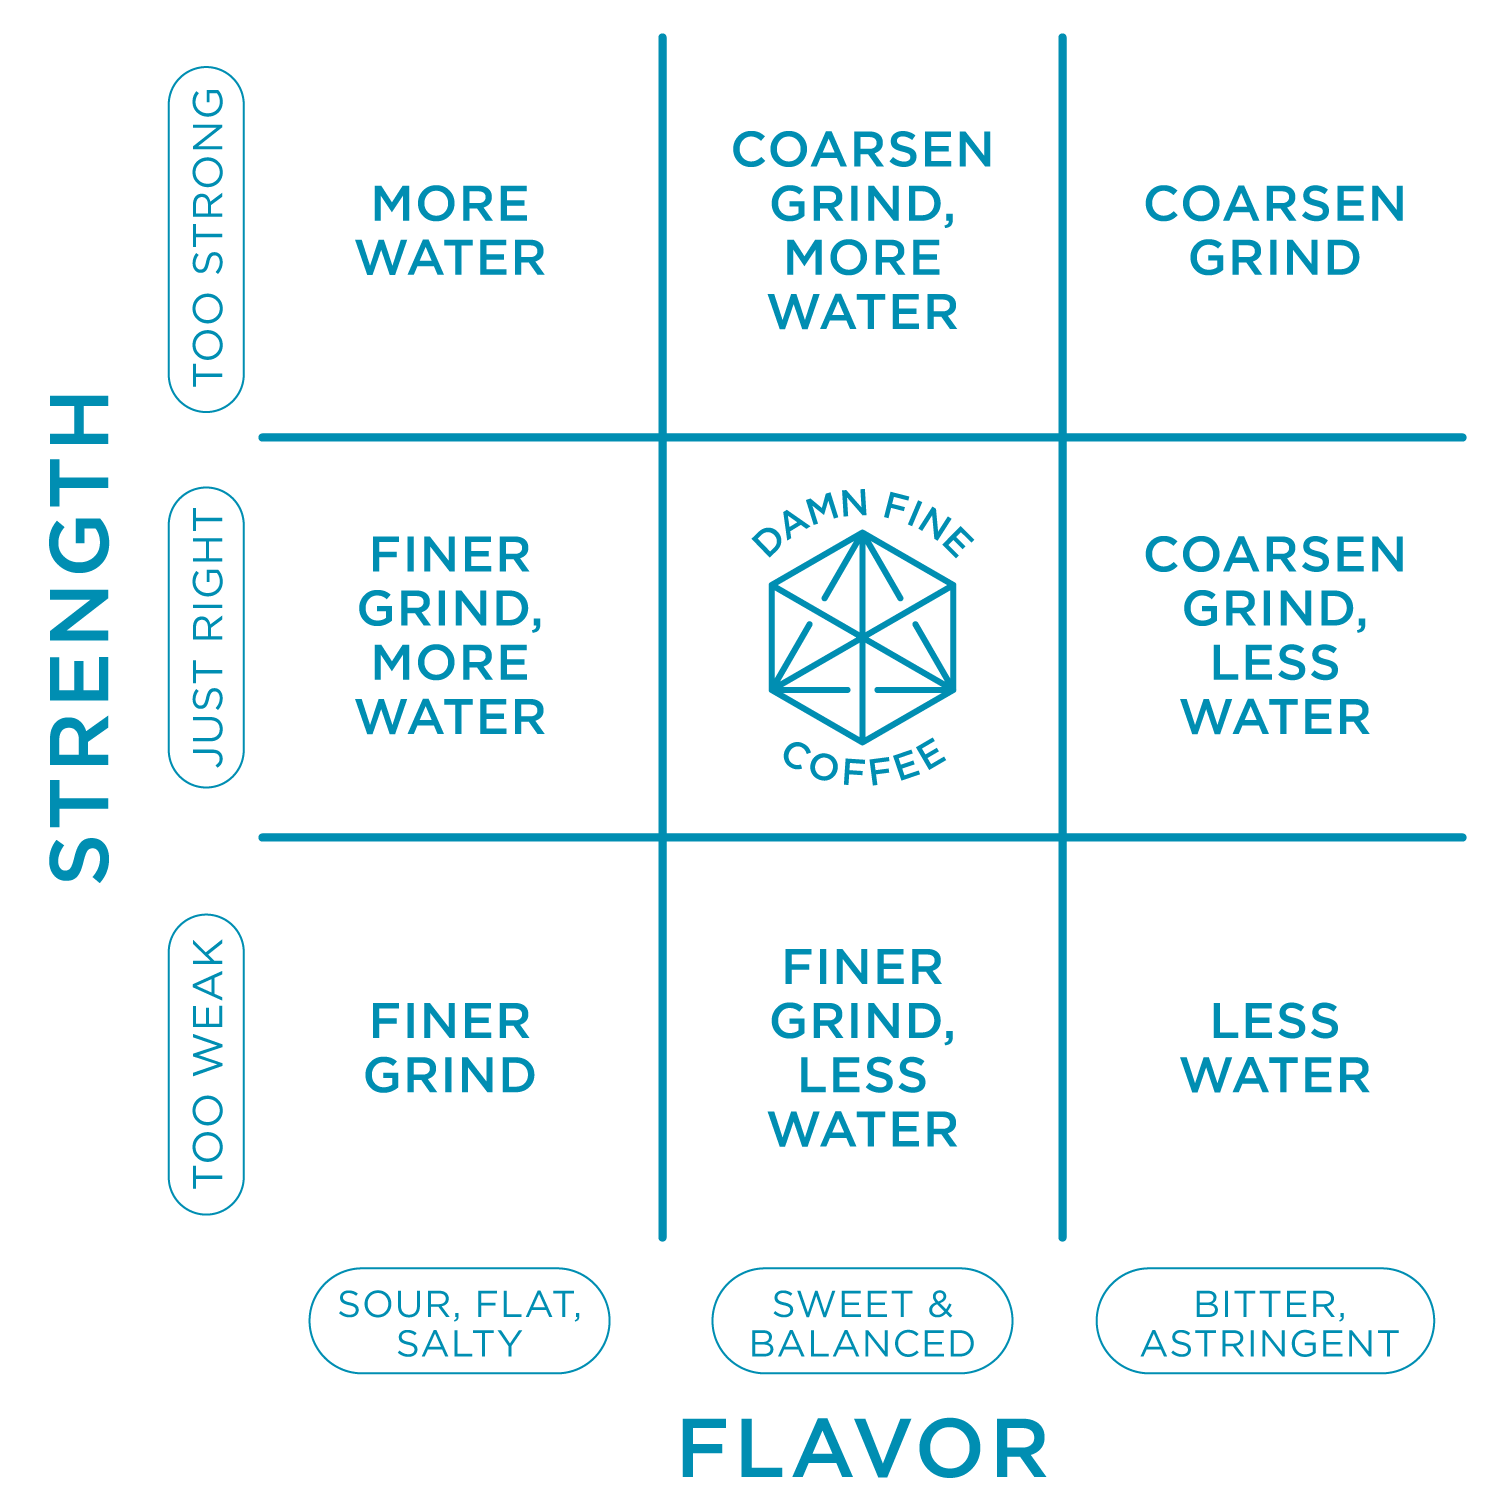
If your coffee is underextracted, it may taste sour, flat, or even salty. You may notice this right up front when you sip the coffee. That’s because your tongue senses the sourness first, at the front of your mouth. On the other hand, overextracted coffee usually tastes bitter or astringent. You might notice this more on the back of your tongue, or lingering at the end of a sip.
The simple matrix below is one of our favorite tools to troubleshoot and make adjustments while dialing in. By considering the flavor and the strength or body of your coffee together, you can follow the chart to find your next step.
At the end of the day, the most important thing is that your coffee tastes good to you. But if you’re ready to understand and fine-tune your brew recipes, I hope this blog is a helpful resource! As a coffee trainer and a barista, I love helping you get the most out of your coffee.